
Enable Hoicko HRMS
Updated 8/14/20263 min read
To enable Hoicko HRMS, open the Settings icon from your workspace, go to Apps & Services, click the HRMS icon, and then complete your Account & Domain Info to turn on HRMS access for your team.
Hoicko HRMS runs as a module inside your existing Hoicko workspace rather than a separate product you sign up for. That matters more than it sounds like it should, because it means there's no second account to create, no second login for your employees to remember, and no data migration between systems. You switch HRMS on once, configure it to match how your company is structured, and it inherits your existing workspace, users, and permissions from day one.
The activation flow itself is intentionally short. Most HR software asks you to fill out a lengthy setup wizard before you see any value—Hoicko HRMS is built so that a single administrator can go from "not set up" to "dashboard visible to the team" inside one sitting, without needing an implementation call or a technical consultant. That said, what you configure in this first pass shapes a lot of what happens later (which roles see HRMS data, whether timesheets are tracked, and what defaults apply to shifts and leave), so it's worth reading through the full flow once before you start clicking.
Step-by-step:
- From your workspace, click the user settings icon in the top corner to open account and workspace configuration options.
- Under Services, click the HRMS icon to open the human resource management system features. This is the same icon your team will see later on their own Quick Access Applications panel once you've granted them access.
- On the Account & Domain Info screen, fill in your company's basic details—company name and any other identifying information requested.
- Toggle Enable HRMS for Roles on if you want to restrict access to specific user roles rather than switching it on for the whole company in one go. Most companies do this even if they plan to eventually give everyone access, simply so the rollout can happen in a controlled way.
- Under Enable HRMS For, choose whether HRMS applies to a specific user, a team, or your entire organization, then click Next.
- Repeat the same process for Enable Time Sheet if your team should also log working hours, project time, and task durations inside Hoicko. This is a separate toggle from HRMS itself, so you can run one without the other if that fits your company better.
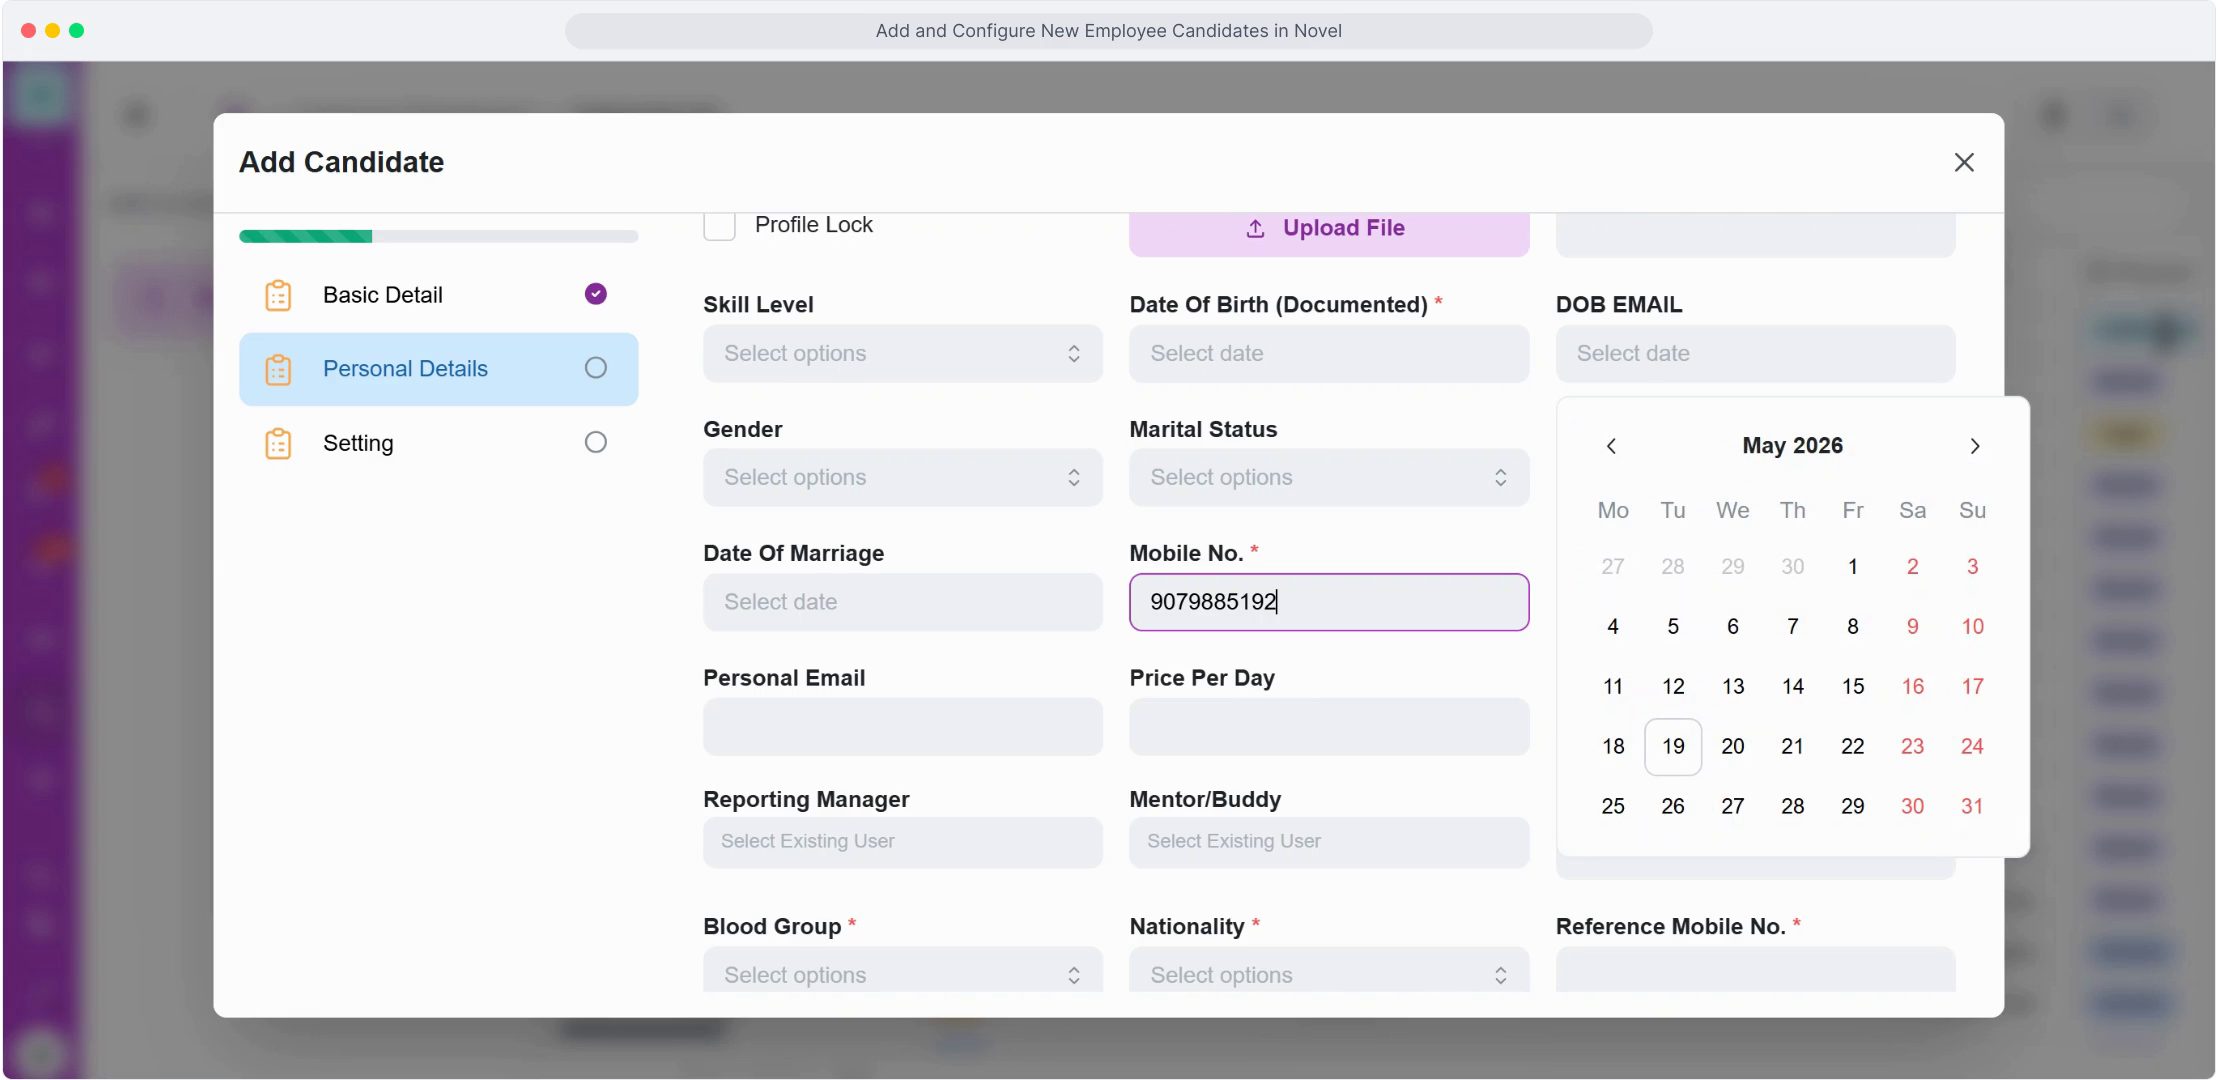
- Review every field and toggle one more time—this is the configuration your whole company will be working from—then click Enable HRMS to activate the module.
Once this step is done, the HRMS dashboard becomes visible to the roles and users you selected. Nothing else changes for people who weren't included—their workspace looks exactly the same as before, and you can extend access to them later without repeating this setup.
FAQ
Do I need a separate login for HRMS?
No. HRMS is enabled inside your existing Hoicko workspace—anyone with the right role automatically sees the HRMS apps in their Quick Access Applications panel the next time they log in, with no separate signup or password.
Can I turn HRMS on for only one department first?
Yes. Use Enable HRMS For and select a specific team or set of users instead of your whole company. This is a common approach—enable it for HR and one pilot department first, confirm the setup works the way you expect, then expand it company-wide.
What happens to data if I disable HRMS later?
Your organizational structure, employee records, and historical attendance and leave data remain stored—disabling HRMS simply hides the module from view rather than deleting anything, so re-enabling it later restores full access to your existing records.
Is there a cost difference for enabling HRMS?
Feature availability and any plan-related questions are best confirmed with your account administrator or billing contact, since this depends on your specific Hoicko subscription.
Related content
Is this article helpful?
Help us improve our articles.